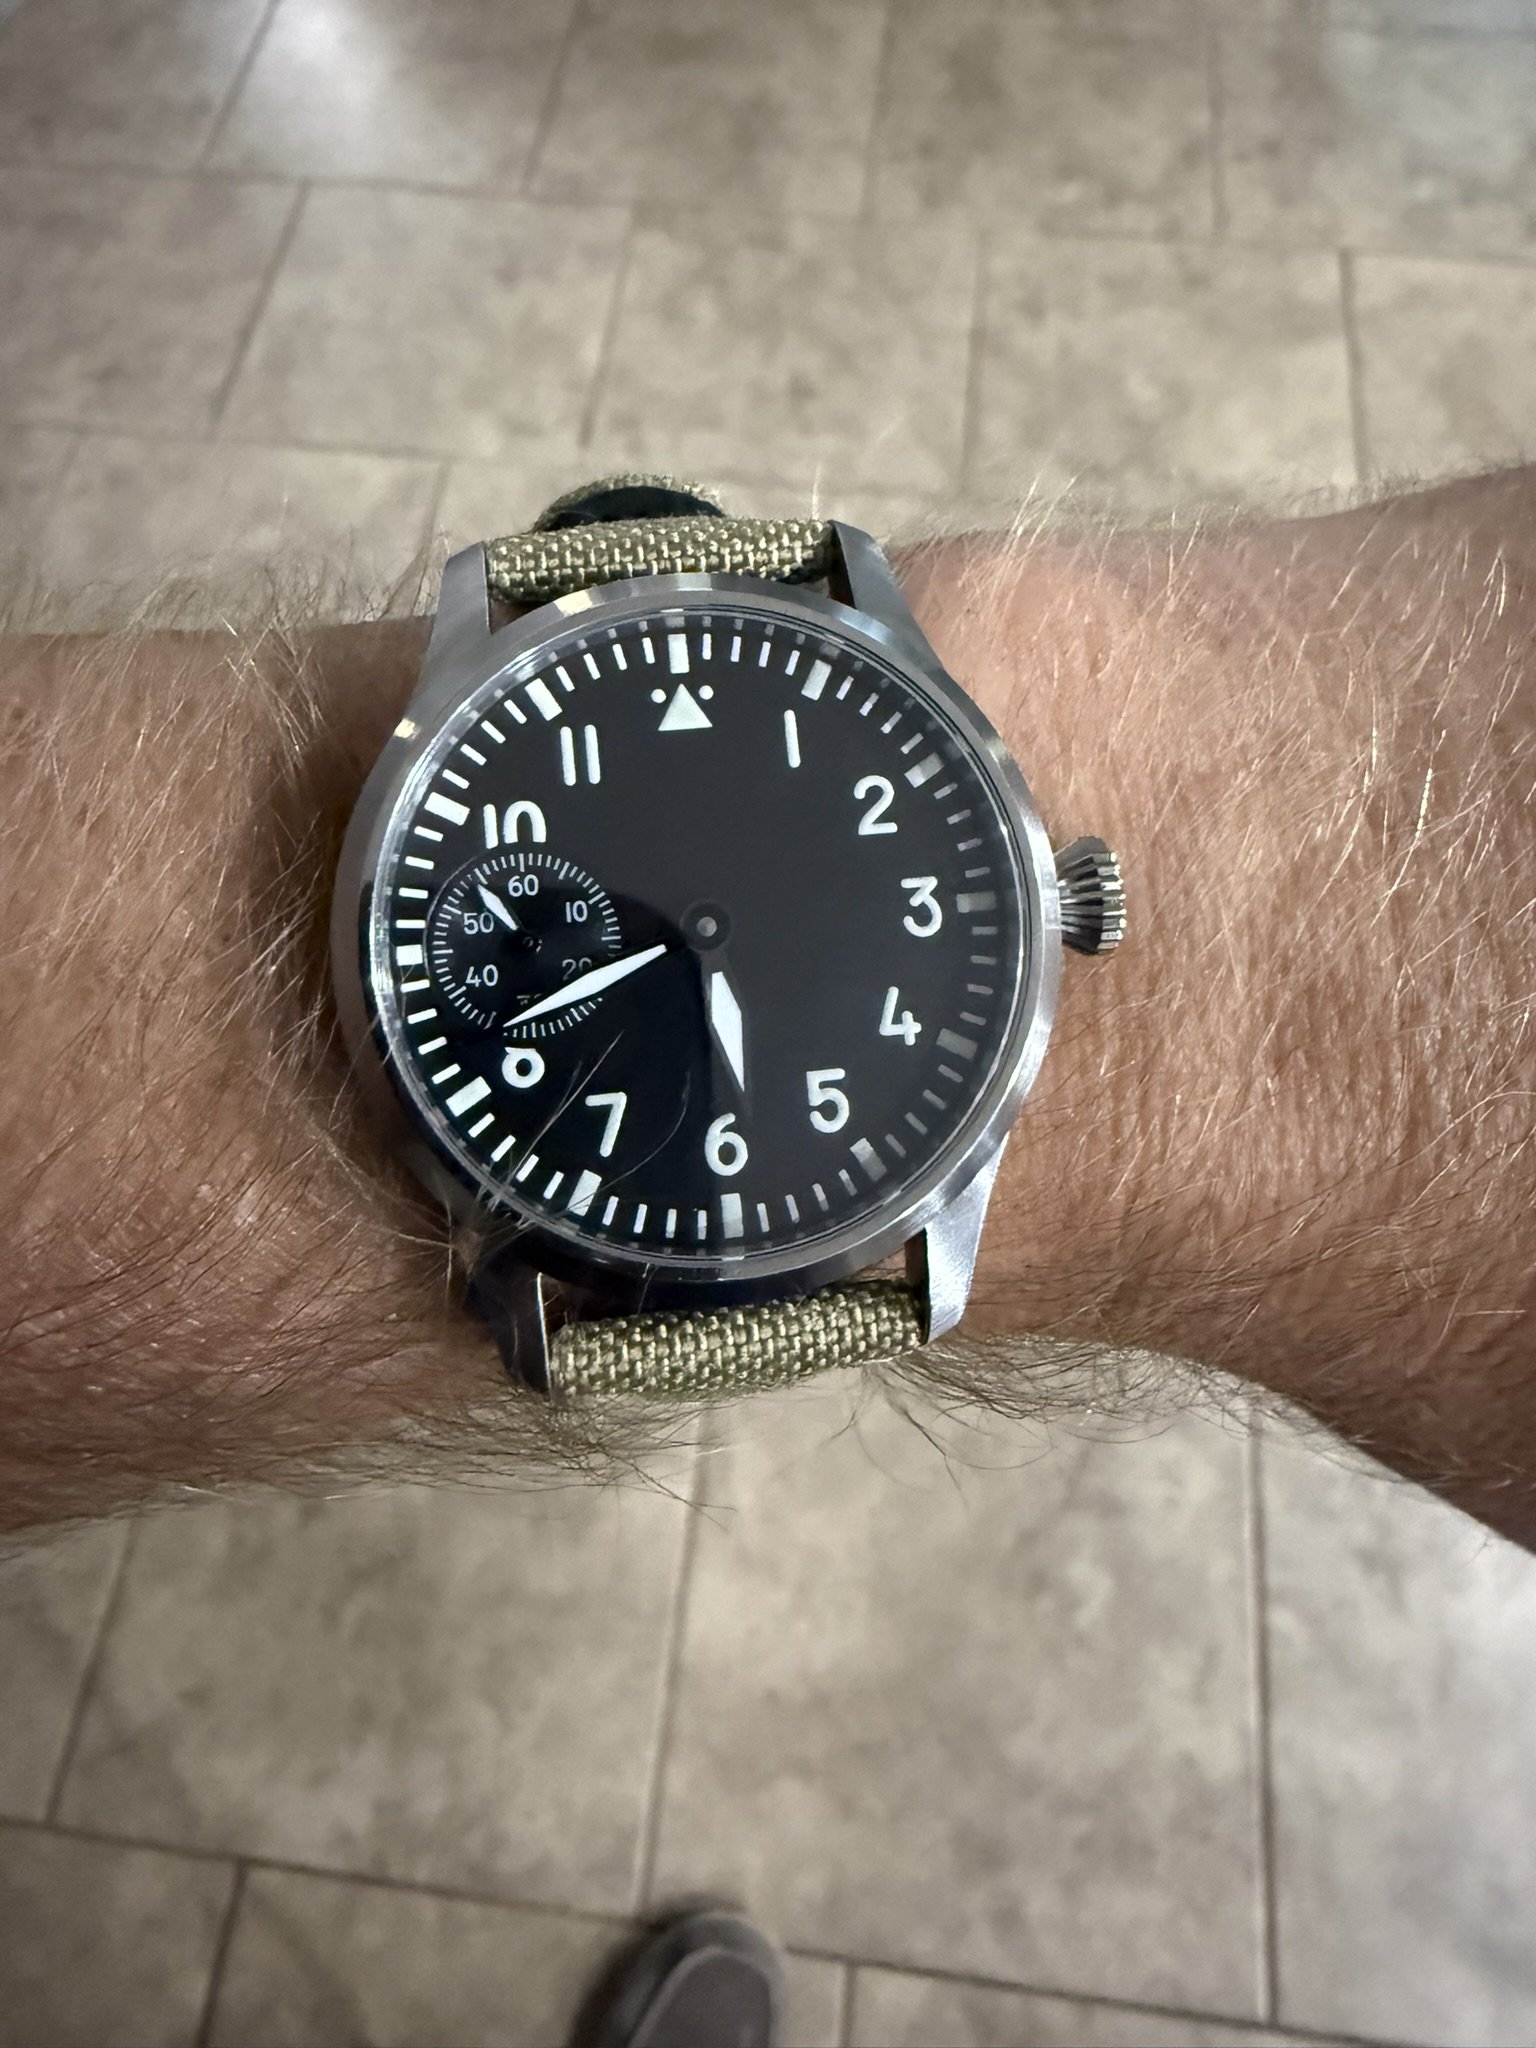
From Practice Movement to Finished Watch: My First ST36 Build
From Loose Movement to Finished Watch
One of the things I wanted to do while learning watchmaking was make sure I wasn’t just watching videos and buying tools. I wanted to actually tear movements apart, understand how they worked, put them back together, and eventually turn that knowledge into a complete watch.
The ST36 seemed like the perfect place to start.
It’s a large manual-wind movement based on a classic pocket-watch-style layout, which means the components are relatively easy to see and work with compared with a lot of smaller wristwatch movements. More importantly, replacement movements are inexpensive enough that destroying one while learning wouldn’t end my watchmaking career before it started.
At least that was the theory.
Starting With a Bare ST36
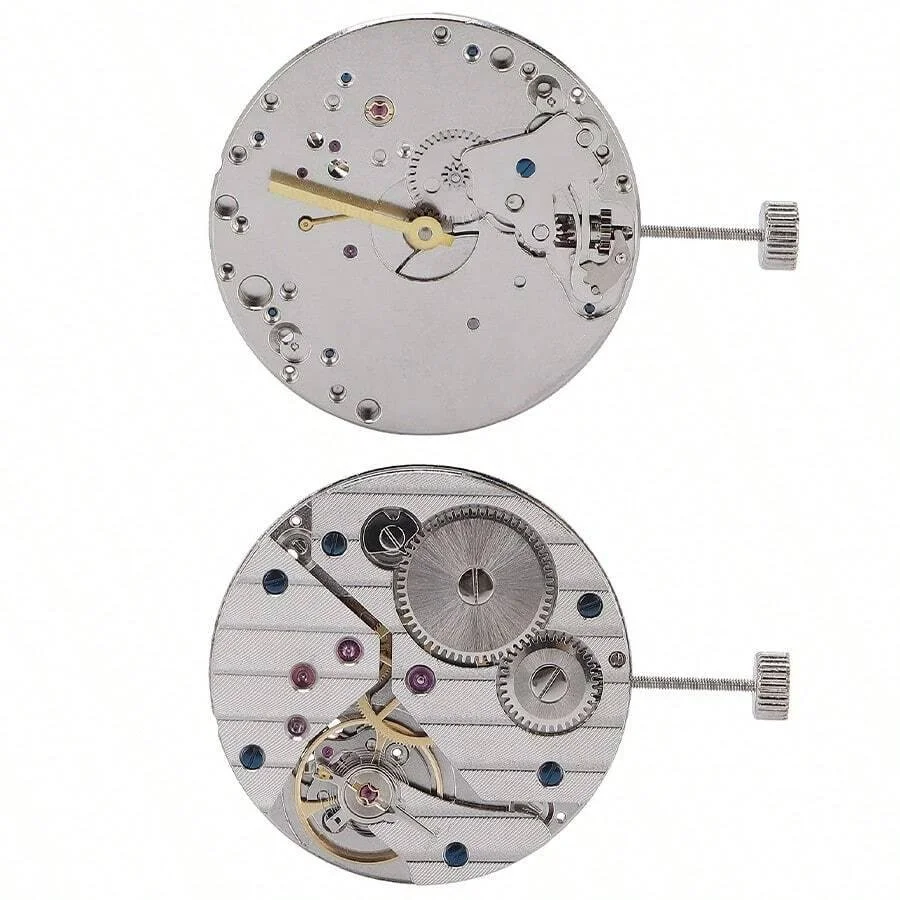
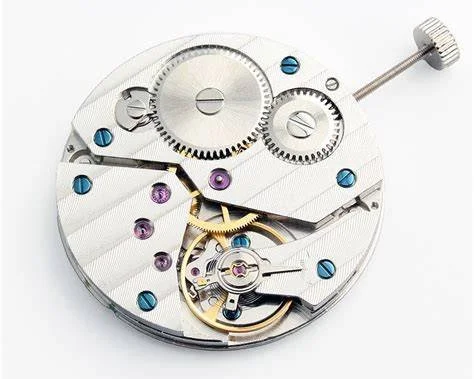
I bought a standalone ST36 specifically to practice disassembly and reassembly.
There was no watch attached to it yet. No dial. No hands. No case. The movement itself was the project.
Using a video as my guide, I worked through the movement piece by piece. Balance assembly, bridges, gear train, barrel, keyless works — everything came apart.
And, as tends to happen when you’re learning, not everything went perfectly.
At one point I thought I had lost the hour wheel. I eventually found it along with the thin washer that belongs with it. During another part of the process, a screw associated with the winding system loosened and caused its own little adventure.
That ended up being part of the lesson.
Watchmaking is not just remembering where parts go. It’s learning how the parts interact, recognizing when something doesn’t feel right, and figuring out what changed.
Eventually, the movement went completely back together.
And it ran.
That was a pretty satisfying moment.
Turning the Practice Movement Into a Watch
Once I knew the ST36 actually worked after my teardown, I decided I didn’t want it sitting on the bench as a practice movement.
I wanted to wear it.
So the next step was finding the rest of the components.
I started looking through AliExpress for a case that would fit the ST36. Because the movement is considerably larger than something like an NH35 or Miyota 9015, case options are a little different from the typical DIY watch build.
Once I settled on a compatible case, I started piecing together the rest of the design.
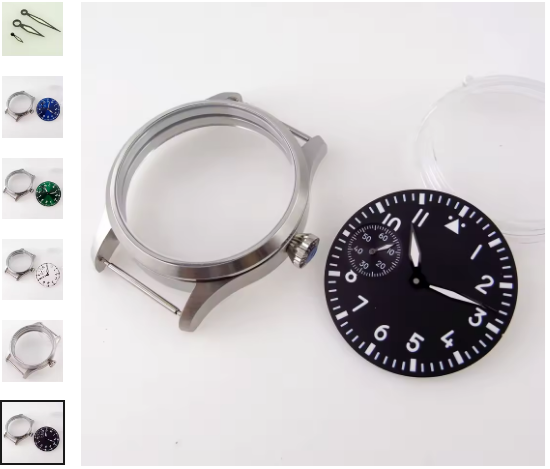
I ordered:
An ST36-compatible case
A dial
A matching set of hands
A crown and stem setup compatible with the case
A strap to finish the watch
This part of the project felt completely different from servicing the movement.
Now I wasn’t only thinking about whether something mechanically worked. I was thinking about proportions, colors, hand length, dial design, case style, and how everything would look together once it was on the wrist.
Installing the Dial and Hands
With the movement running properly, the dial went on first.
Then came one of the parts of watch building that looks incredibly simple until you actually try it: installing the hands.
The hour hand has to sit flat and properly engage the hour wheel.
The minute hand needs to be installed above it without touching.
And the seconds hand has to land on a tiny pivot in the center of the movement.
All three also need enough clearance that they can rotate freely without contacting each other or the underside of the crystal.
Before casing the movement, I rotated the hands through a full 12-hour cycle to make sure nothing was binding.
Seeing a dial and hands on the movement for the first time completely changed the project.
It finally started looking like a watch.
Casing the Movement
After the dial and hands were installed, the movement could finally go into the case.
The stem had to be measured and cut to the correct length so the crown would sit properly against the case while still allowing the watch to wind and set correctly.
Cutting a stem is one of those jobs where you really understand the phrase “measure twice, cut once.”
Cut it too long and the crown sticks out.
Cut it too short and you’re ordering another stem.
Once everything was fitted properly, the movement went into the case and the caseback was installed.
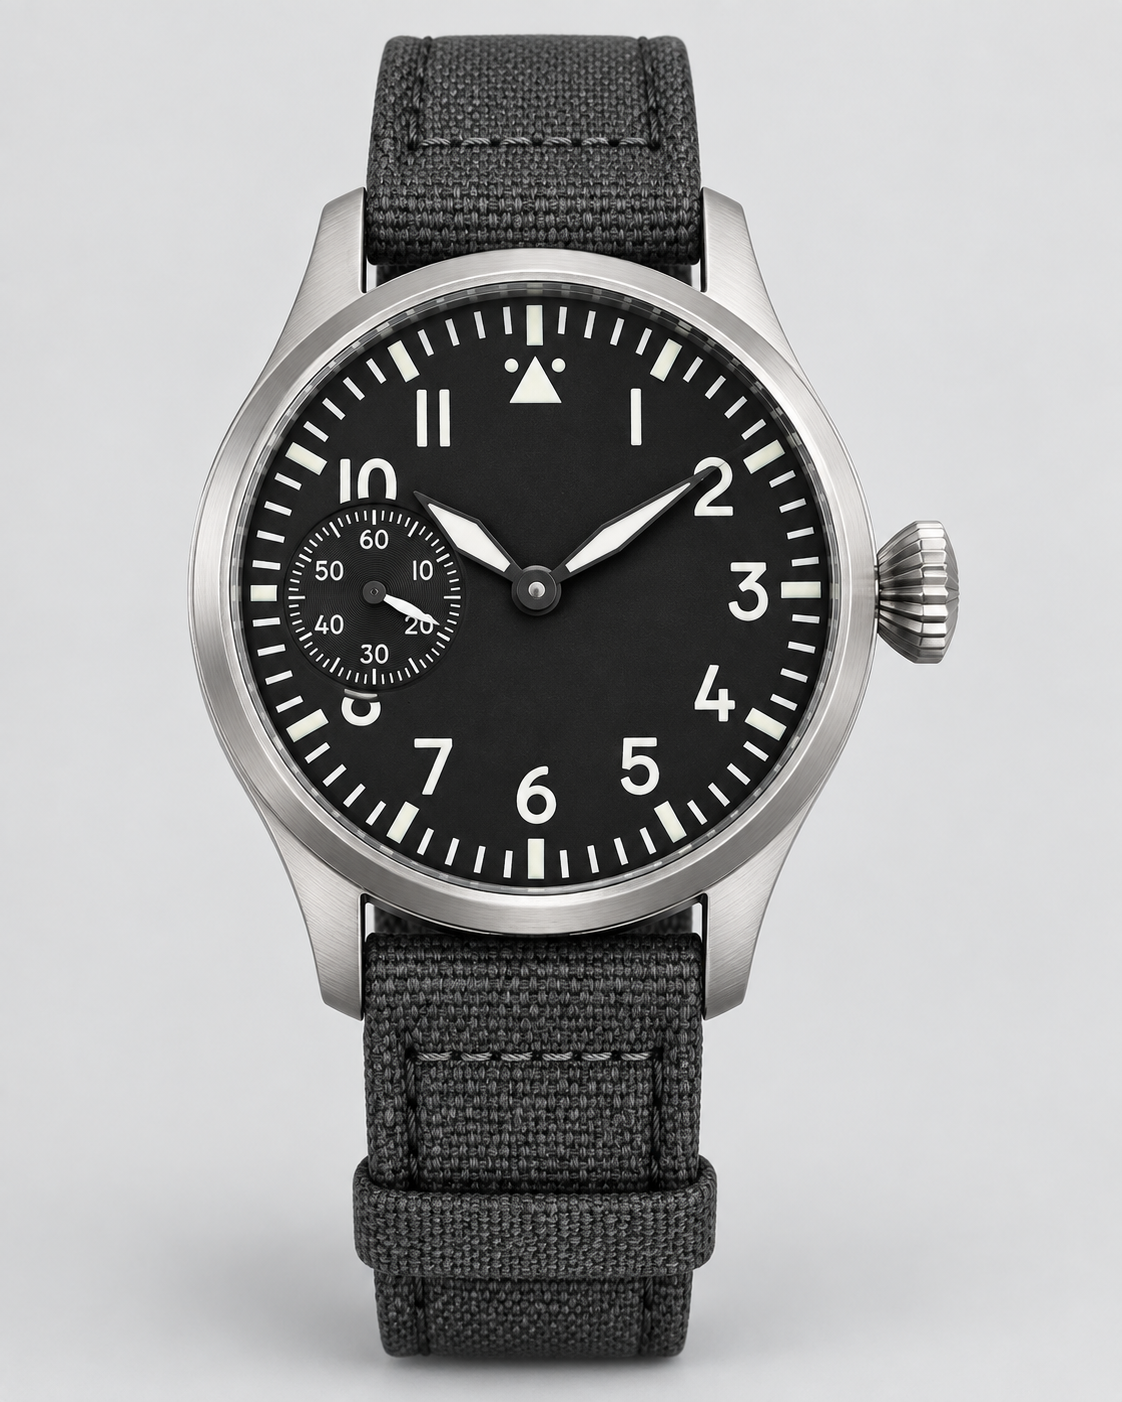
For the first time, the ST36 that had been scattered across my workbench as a collection of gears, screws and bridges was now a complete wristwatch.
The Final Step: The Strap
The last piece was the strap.
It seems almost insignificant compared with rebuilding an entire movement, but the strap changes the personality of a watch almost as much as the dial or case.
Once the strap was installed, the project was officially finished.
I could actually put on a watch powered by the same movement I had completely disassembled and rebuilt myself.
That made it considerably more interesting to me than simply buying another finished watch.
What This Build Taught Me
The finished watch isn’t really the important part of this project.
The important part was understanding what was happening underneath the dial.
Before this project, a mechanical movement was something I could look at and recognize.
After taking the ST36 apart and rebuilding it, I started understanding how the individual systems actually interact.
The barrel stores energy.
The gear train transfers it.
The escapement controls its release.
The balance regulates the rate.
The keyless works lets you wind and set the watch.
And dozens of tiny components have to work together correctly for something as simple as moving a seconds hand around a dial.
There is still an enormous amount to learn, but completing the ST36 gave me something I needed more than another tool or another book:
Confidence that I could actually do this.
And now I have a watch on my wrist to prove it.